

Hey there! As a supplier of Sleeve Babbitt Bearings, I've seen my fair share of bearing replacements. And let me tell you, having the right tools is super important. So, today I'm gonna walk you through the tools you need to replace a Sleeve Babbitt Bearing.
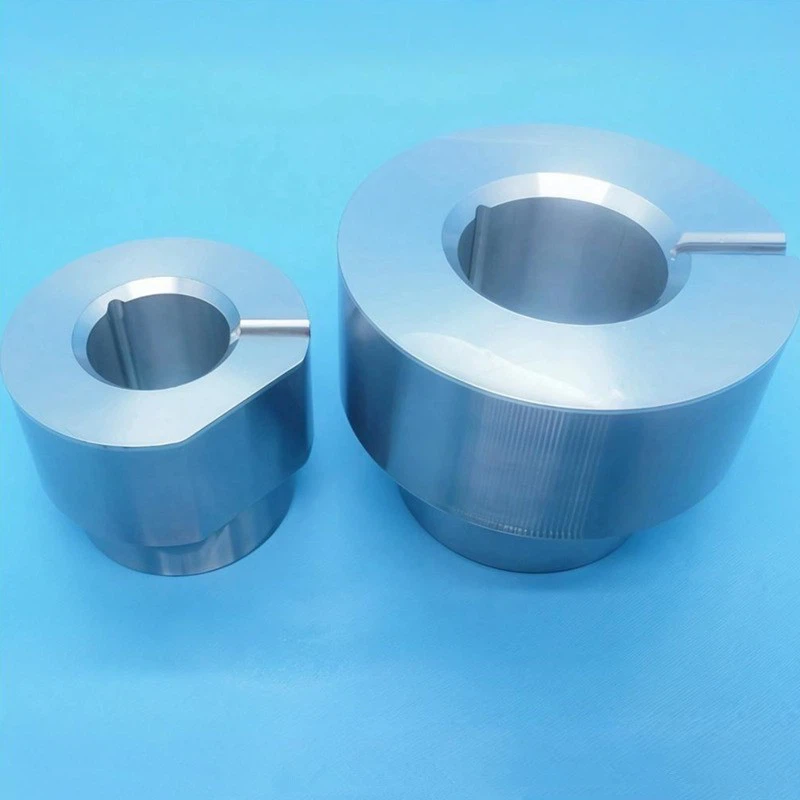
First off, let's talk a bit about Sleeve Babbitt Bearings. They're a type of Babbitt Bearing that are widely used in various industries because of their excellent load - carrying capacity and anti - friction properties. You can also check out Babbitt Flanged Bearings if you have different requirements. And of course, our specialty, the Sleeve Babbitt Bearing, is designed to provide smooth operation in many applications.
Measuring Tools
One of the first things you need are measuring tools. You gotta know the exact dimensions of the bearing you're replacing. A good quality micrometer is a must - have. It'll help you measure the inner and outer diameters of the bearing with high precision. You can find micrometers in different ranges, so make sure you pick one that suits the size of your bearing.
A caliper is also very useful. It's a bit more versatile than a micrometer as you can use it to measure lengths, diameters, and depths. With a caliper, you can quickly get a rough idea of the bearing's dimensions before using the micrometer for more accurate measurements.
Pulling Tools
To remove the old bearing, you'll need pulling tools. A bearing puller is the go - to tool here. There are different types of bearing pullers, like two - jaw and three - jaw pullers. The three - jaw puller is usually more stable and can provide a better grip on the bearing. It's important to choose a puller with the right size and capacity for your bearing. You don't want it to slip off during the removal process, which could damage the bearing or the surrounding parts.
Sometimes, if the bearing is really stuck, you might also need a slide hammer. A slide hammer can provide the extra force needed to dislodge the bearing. You attach it to the bearing puller, and by sliding the weight along the shaft, you can generate a strong pulling force.
Cleaning Tools
Before installing the new bearing, you need to clean the housing and the shaft thoroughly. A wire brush is great for removing dirt, rust, and old babbitt material from the housing. You can use a stiff - bristled wire brush to get into all the nooks and crannies.
Solvents are also essential. You can use a degreaser to clean the parts and remove any oil or grease. Make sure you use a solvent that's safe for the materials of the housing and the shaft. After using the solvent, use a clean cloth to wipe everything dry. You don't want any residue left behind as it could affect the performance of the new bearing.
Installation Tools
When it comes to installing the new Sleeve Babbitt Bearing, you'll need some specific tools. A bearing installer is a key tool here. It helps you press the bearing into the housing evenly. You want to make sure the bearing is installed straight and at the right depth. A bearing installer usually comes with different sized sleeves to fit various bearings.
A hydraulic press can also be very useful, especially for larger bearings. It provides a controlled and powerful force to install the bearing. But be careful when using a hydraulic press. You need to set the right pressure and make sure the bearing is properly aligned before applying the force.
Torque Wrenches
Once the bearing is installed, you need to tighten the bolts or nuts that hold the bearing in place. A torque wrench is crucial for this step. It allows you to apply the correct amount of torque to the fasteners. Over - tightening can damage the bearing or the housing, while under - tightening can cause the bearing to move or come loose during operation.
Heating Tools
In some cases, you might need to heat the bearing or the housing to make the installation easier. A heat gun can be used to heat the bearing slightly. Heating the bearing expands it, making it easier to fit into the housing. Just make sure you don't overheat the bearing as it can damage the babbitt material.
If you're dealing with a larger bearing or a housing that needs to be expanded, an induction heater might be a better option. It can heat the parts more evenly and quickly.
Inspection Tools
After the installation, you need to inspect the bearing to make sure everything is in order. A bore gauge can be used to check the roundness and straightness of the bearing housing. It'll help you detect any irregularities that could affect the bearing's performance.
A stethoscope can also be useful. You can use it to listen for any abnormal noises coming from the bearing during operation. Unusual noises could indicate a problem, such as misalignment or improper installation.
Safety Equipment
Last but not least, don't forget about safety equipment. You should wear safety glasses to protect your eyes from any debris during the removal and installation process. Gloves are also important to protect your hands from sharp edges and hot parts.
If you're using solvents or other chemicals, make sure you have a respirator to avoid inhaling any harmful fumes. And if you're working with heavy tools or equipment, wear appropriate footwear to protect your feet.
Conclusion
Replacing a Sleeve Babbitt Bearing requires a set of specialized tools. From measuring and pulling tools to installation and inspection tools, each one plays a vital role in the process. Having the right tools not only makes the job easier but also ensures that the new bearing is installed correctly and will perform well.
If you're in the market for high - quality Sleeve Babbitt Bearings or need more information about the tools and the replacement process, feel free to reach out. We're here to help you with all your bearing needs. Whether you're a small - scale workshop or a large industrial facility, we can provide the right products and advice. So, don't hesitate to contact us for procurement and let's start a great business relationship!

References
- Machinery's Handbook
- Bearing Installation and Maintenance Guides