

Hey there! As a supplier of Babbitt Flanged Bearings, I'm super excited to share with you the ins and outs of installing these nifty components. Babbitt Flanged Bearings are widely used in various industrial applications, and getting the installation right is crucial for their optimal performance. So, let's dive right in!
Pre - installation Checks
Before you even start the installation process, there are a few things you need to check. First off, make sure you've got the right bearing for the job. You can find detailed information about Babbitt Flanged Bearings on our website. Check the dimensions of the bearing against the specifications of your equipment. A mismatch in size can lead to all sorts of problems down the line, like excessive wear and tear or even complete bearing failure.
Inspect the bearing itself. Look for any signs of damage, such as cracks, chips, or dents. If you notice any issues, don't use the bearing. Contact us immediately, and we'll get you a replacement. Also, check the flange for proper alignment and flatness. A warped flange can cause uneven loading on the bearing, which is a big no - no.
Next, clean the bearing housing. Remove any dirt, debris, or old lubricant from the housing. You can use a clean, lint - free cloth and a suitable solvent for this. Make sure the housing is completely dry before proceeding with the installation. Any moisture left in the housing can lead to corrosion, which will shorten the lifespan of the bearing.

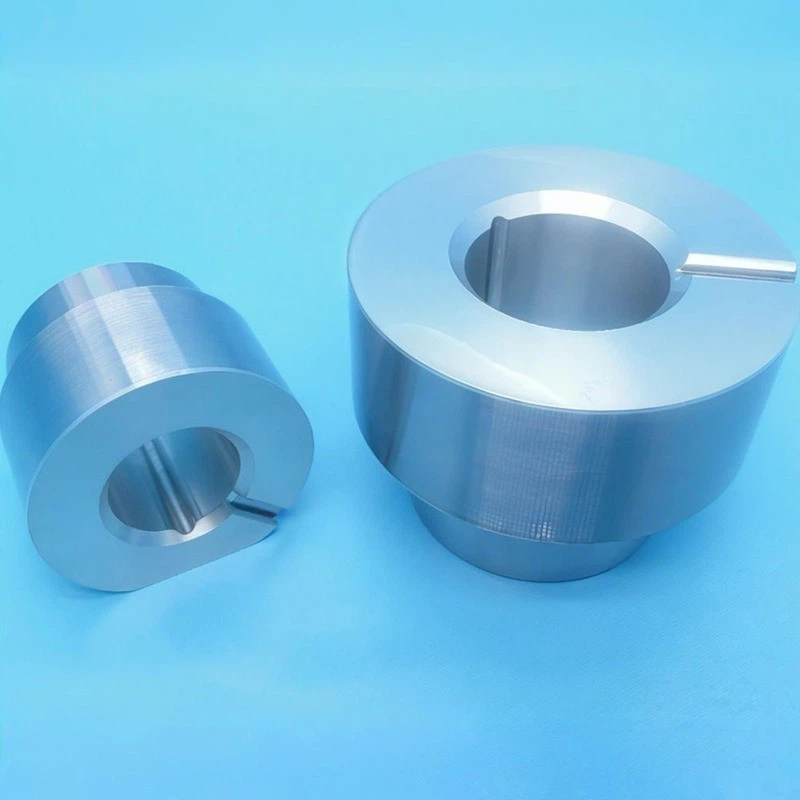
Tools You'll Need
To install Babbitt Flanged Bearings, you'll need a few basic tools. A torque wrench is essential for tightening the bolts to the correct specifications. You'll also need a set of socket wrenches to remove and install the bolts. A bearing puller might come in handy if you're replacing an old bearing. And of course, don't forget a clean workbench and some safety gear, like gloves and safety glasses.
Installation Steps
Step 1: Prepare the Bearing
Before installing the bearing, apply a thin layer of lubricant to the bearing surface. This will help reduce friction during the initial startup and prevent damage to the bearing. You can use a high - quality industrial lubricant recommended for Babbitt Bearings. You can learn more about Babbitt Bearing lubrication on our website.
Step 2: Insert the Bearing into the Housing
Carefully place the bearing into the housing. Make sure the flange of the bearing aligns with the corresponding surface in the housing. You may need to use a soft - faced hammer or a rubber mallet to gently tap the bearing into place. Be careful not to use too much force, as this can damage the bearing or the housing.
Step 3: Install the Bolts
Once the bearing is in place, insert the bolts through the holes in the flange and into the threaded holes in the housing. Use a socket wrench to hand - tighten the bolts. Don't fully tighten them yet. You want to make sure the bearing has some room to adjust itself as you tighten the bolts evenly.
Step 4: Tighten the Bolts
Now, it's time to use the torque wrench. Refer to the manufacturer's specifications for the correct torque value. Tighten the bolts in a criss - cross pattern to ensure even tightening. This will help distribute the load evenly across the bearing and prevent any binding or misalignment.
Step 5: Check the Clearance
After tightening the bolts, check the radial and axial clearance of the bearing. You can use a feeler gauge for this. The clearance should be within the specified range. If the clearance is too tight, it can cause overheating and premature wear. If it's too loose, the bearing may vibrate and cause noise. If the clearance is not within the acceptable range, you may need to adjust the bearing or the housing.
Step 6: Lubrication
Once the bearing is installed and the clearance is checked, apply the appropriate amount of lubricant to the bearing. The type and amount of lubricant depend on the application and the operating conditions. Make sure to follow the manufacturer's recommendations.
Post - installation Checks
After the installation is complete, give the bearing a final inspection. Check for any signs of misalignment or improper installation. Rotate the shaft by hand to make sure the bearing rotates smoothly. Listen for any unusual noises, such as grinding or rattling. If you notice anything out of the ordinary, stop using the equipment immediately and investigate the problem.
Troubleshooting
Even with proper installation, you may encounter some issues with Babbitt Flanged Bearings. One common problem is overheating. This can be caused by improper lubrication, excessive load, or misalignment. If you notice the bearing getting hot, check the lubricant level and quality. Make sure the bearing is properly aligned and not overloaded.
Another issue is vibration. Vibration can be a sign of loose bolts, misalignment, or worn - out components. Check the tightness of the bolts and the alignment of the bearing. If necessary, replace any worn - out parts.
Why Choose Our Babbitt Flanged Bearings
Our Babbitt Flanged Bearings are made from high - quality materials and are manufactured to the highest standards. We offer a wide range of sizes and configurations to meet your specific needs. Our team of experts is always available to provide technical support and advice. Whether you're a small - scale manufacturer or a large industrial company, we've got the right bearing for you.
If you're interested in purchasing Babbitt Flanged Bearings or need more information about installation and maintenance, don't hesitate to get in touch with us. We're here to help you make the most of your equipment and ensure its long - term reliability.
References
- Manufacturer's installation and maintenance manuals for Babbitt Flanged Bearings
- Industrial machinery handbooks on bearing installation and troubleshooting